Showing posts with label valentines. Show all posts

Wednesday, February 1, 2012

Paper Pennie Pockets

Pennie Pockets are showing up everywhere lately, especially on quilting and sewing blogs. They're adorable! Take a look at this one over at Material Girls Quilts.
 She's got a link to the tutorial, if you're in the mood to pull out the sewing machine and the fabric scraps.

If you're more apt to pull out your paper craft supplies, make a bunch of these for Valentine's Day!
Pin It


Pennie Pockets have been around for years and years, and they were actually first made of paper. Scrap notions were used to embellish them, and they were traditionally stuffed with treats. So, in keeping with the tradition, you can whip up a pocket or two for the sweeties in your world and stuff them with anything from chocolates to jewelry.
Here's how they go together:

Start with a square of paper. Mine is decorative paper, but it does not have to be. It just has to be a square.

Flip the paper to the wrong side. If you are using two-sided decorative paper, the side that will be on the inside of the pocket should be facing up. Place your straight edge diagonally from corner to corner and draw a line half way up from the bottom corner.

Be careful not to go above the halfway point. That unmarked piece will be on the outside of your project when you're through.

Now take the right corner and fold it up and in so that the bottom right side is now touching the line you just drew.


Repeat this step with the left side, overlapping very slightly. (You will be gluing this seam, so you need enough overlap for a very thin line of glue.)

Run a very thin bead of glue down the seam and press it into place. It's important not to overdo it with the glue at this point. You only want the glue to secure the seam; you do NOT want it to stick to the layer underneath. I use good old Aleen's Tacky Glue. It adheres instantly, and it dries quickly.

You now have a contrasting triangle at the top of your project. Fold it down over the glued seam. Your fold line is the base of the triangle.


Now fold it to the other side and turn your project over.


Now comes the fun part: embellishing! The sky's the limit here. Okay, I exaggerate. Your notion box is the limit here. I chose a pink doily (simply dyed it in a dish of colored water) to dress up the plain white triangle. I also trimmed the edges of the triangle to scallop them.


You can add whatever you have on hand: bows, ribbons, beads, shells, flowers, more paper, monograms, ect. Think about the recipient of this little gem, and personalize it accordingly.

Use a punch (or a toothpick, or a sharp nail file, or whatever it is that you can find in that junk drawer you're standing next to) to make small holes in the side for the ribbon handle. Punch the holes directly into the fold about 1/2 inch down from the top edge. 
Use ribbon, rick-rack, raffia, or whatever else you have on hand as a handle for your pocket. I used rag yarn. It has little pieces of "rag" fabric woven into the fibers of the yarn. You can string your handle through the holes from the inside (like I did), or you can string from the outside and knot it on the inside for a more streamlined look.

I added a couple beads to the bottom point with hot glue. You could also add pom-poms, tassels, paper hearts, etc.

Stuff your pocket full of your sweetie's favorite treat.

And you have a quick, easy gift!  Say Ta Da! Make them for your kids. Make them for your grandkids. Make them for your kids' teachers. Just make 'em and send me pictures of your creations!

Tuesday, January 24, 2012

DIY Valentine Printables

Pin It


Picnik is closing. Yep, it's true. My favorite photo editing site is coming to an end. So sad.

No more fluffing clouds. No more picking blackberries. No more buttering sandwiches.

The GOOD NEWS: They will be up and running until April 19th, and all the premium stuff is now FREE! So get it while it lasts. (For those who have been paying for the premium stuff, you're all getting a full refund!)

I used picnik to make the Valentine printable above, and it's soooooo easy to do. I know, I know. A lot of you have been creating things like this forEVER, but bear with me while I share the tutorial. (I ask your forgiveness ahead of time for the pictures. Apparently photographing my computer screen isn't within the capabilities of my camera.)

The first thing you have to do is create a blank Paint document. What is a Paint document, you ask? Paint is a program in your computer (yes, it's there) that allows you to create all sorts of neat stuff, but we'll talk more about the elements of Paint another time. You can find this program under Accessories in your list of All Programs. Simply open it and save it as a jpeg on your desktop. It is a blank white nothing at this point.


Open the Picnik home page  and upload the file you just saved on your desktop. Again, it will look like a big, white, blank page; but trust me, it's there.


From the tabs at the top, choose Effects. Scroll down to Duo-Tone. Click on the Second Color box, and choose your background color. (The First Color box does not come into play in this project.)

Click Apply, and instantly you will see that your file is no longer blank!

Now go to the tab for Basic Edits. Click on Resize. This is where you will turn your rectangular image on its side to that it has a vertical orientation. Uncheck the Keep Proportions box. The first value is the width, and the second is the height. You can play with the numbers until you get the size rectangle that you want. Mine is 800x1200.


Click Apply to save the dimensions. (You can always come back and resize again later if you need to.)

Now click on the Frames tab. Choose what type of frame you would like. Play around with a few of them to see what best suits your project and your taste. You can always click Undo if you don't like what you've created. I chose a Museum Matte. I like that it has two different colors.

                                                 Again, sorry for the picture quality here.

Now you are ready to add your text. Click the Text tab. You will add your text in the box in the upper left corner of the screen.


You will have to create the line breaks, or it will come out in one loooooong line of text that won't fit your project. Once you have typed your text into the box, click Add. You may have to play with it for a while to get it exactly how you want it. You can drag the text box all over the screen to place it. Choose a Font. Choose a Font Color.

Now click on the Stickers tab.  There are literally hundreds of options here, and since they're all FREE, you can choose to add whatever you'd like! I chose the tab for Hand-Drawn Hearts.


You can alter the sticker once it's added by right clicking on it for options. You can change the color of many of the stickers, and you can resize all of them. Drag them to the perfect spot on your creation.

Save your project to your computer by clicking on the Save and Share tab.

Say Ta Da! and sit back and admire your work! Print it out, frame it, gift it to someone special in your world. And don't forget to send me pics of your project!

Monday, January 23, 2012

Pillow Boxes


These little goodie boxes have me obsessed at the moment. They’re just so easy to make, and they’re cute and functional too. You can fill them with the treat of your choice, and they’re bound to please all the sweeties in your world.


Download the template for the boxes here, and print it on cardstock. Cut it out, cutting only the solid lines. Use this as your pattern. Trace around the pattern onto your project paper. Cut on the solid lines. Score on the dotted lines.


To score the curves, cut the curved lines of your pattern and remove the football-shaped pieces. Line up this new pattern with your project and follow the curved edges that you just cut. Use a straight-edge to score the two straight folds.

Important: All scoring is done on the outside of the project.


I used card stock for some of the boxes, construction paper, and calendar art pages for others. They all work well, but the cardstock is the sturdiest.


When all score lines are complete, apply Tacky Glue to the tab, fold the “pillow” in half on the score line, and seal. When the glue is dry (be patient!) simply fold the ends in on the curves to create the three-dimensional pillow.


Embellish with whatever you’d like. Here are a few ideas.

                                                            Red and white cotton ribbon with tiny silk flowers.


Paper doily with a bouquet of hearts wrapped in a bow. The heart stems are stirrer straws cut to length. The hearts were cut with a punch from colored paper plates.

                                             Paper doily with paper rosette. The surprise inside is a simple love note.


                                                     A quote from Elizabeth Barrett Browning in a poem to her husband.
                                                                                     Add a window!! (tutorial here)

Calendar art comes in beautiful varieties. This particular calendar boasts gorgeous flowers on black backgrounds. I love how the dark background allows the flowers to show off.


The sky's the limit. You could make them from old maps for the gentlemen in your world, from bright cardstock for all occasion giving, from notebook paper (glued over a sheet of cardstock) for a teacher gift. The list is endless. Make a few and send me your pictures. I'd love to see what is unleashed in your imagination!

Hearts-a-Plenty

Pin It


This quick little project is virtually FREE if you have an old frame lying around. I just happened to have a few of them on hand.


Lovely, huh? That’s why they were lying around! I have a lot of stuff lying around waiting for a project, as do many of you. Don’t lie. I know you do. You wouldn’t be reading this if you didn’t.

I had to do some minor repairs on the two lovelies with the gold-tone frames.


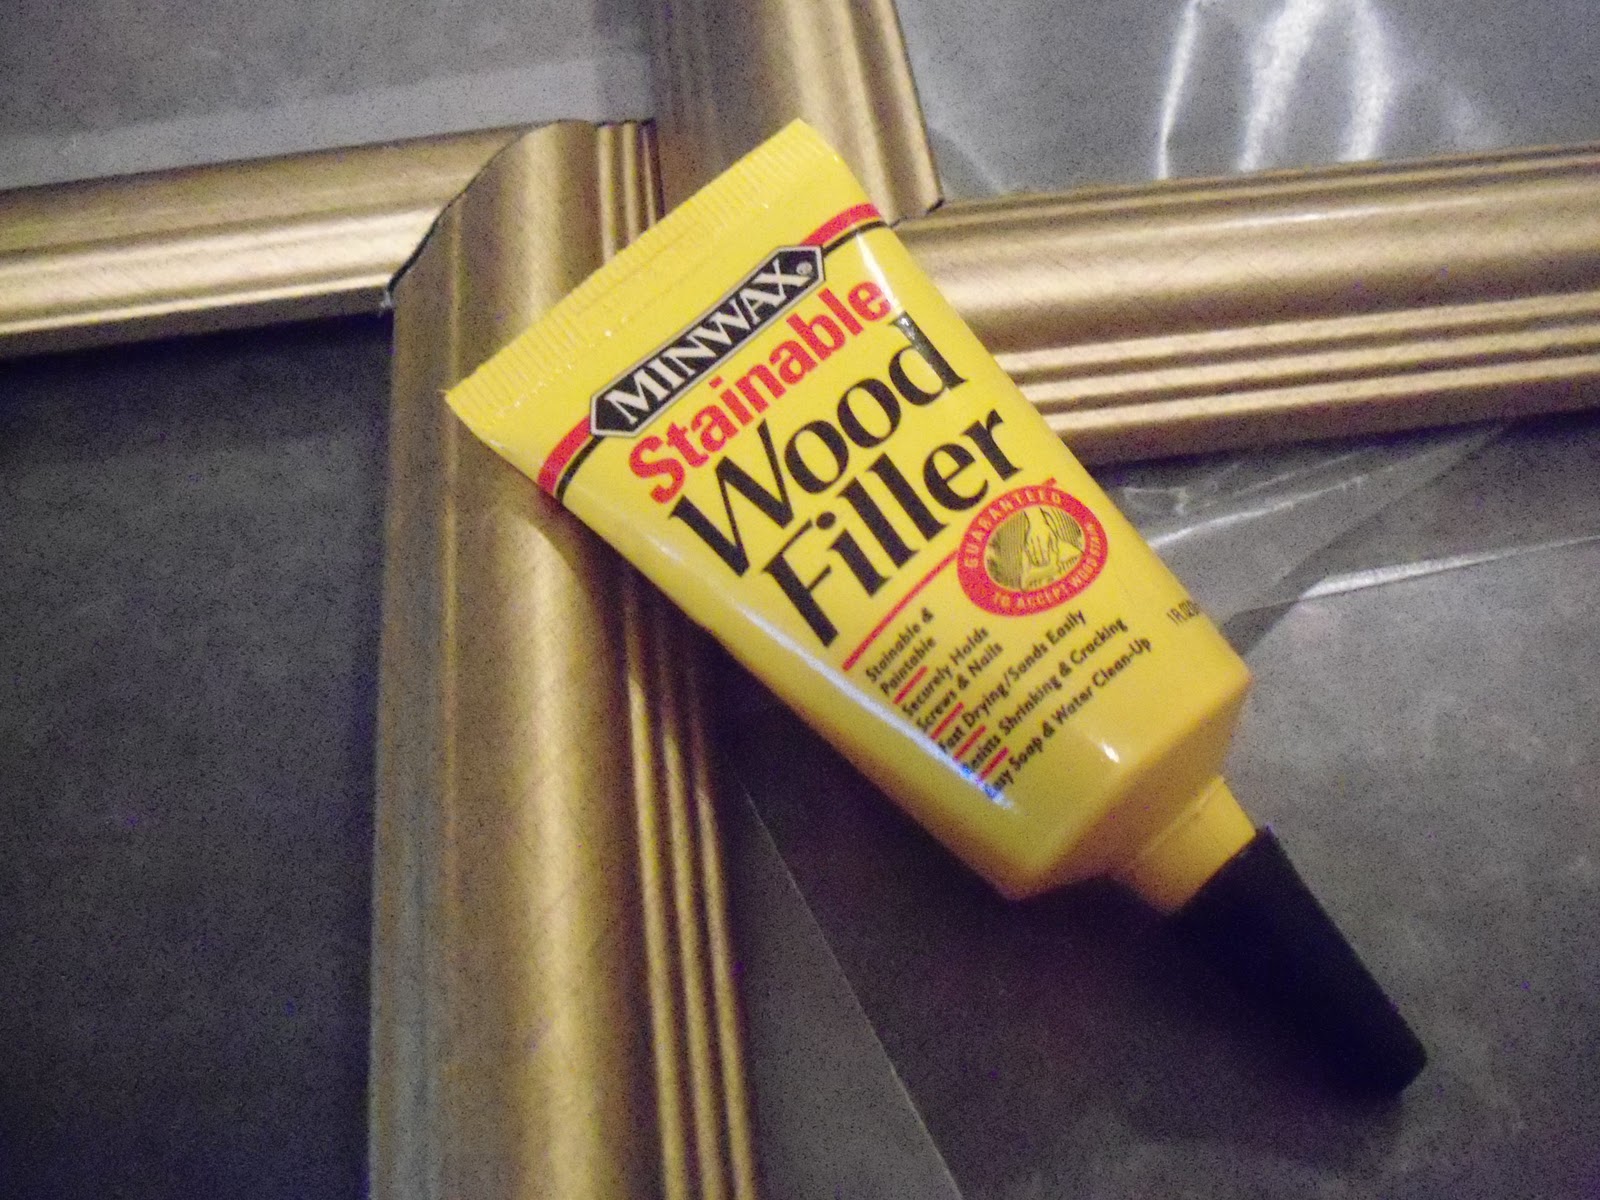
The corner joints were not aligned, and there were huge gaps that I knew a coat of paint wouldn’t fill.  Enter: Wood filler.


Minwax makes a great product. Don’t skimp and buy the cheap stuff. This little yellow tube will last a long, long time, and it dries in minutes. If you wipe off the surrounding area with a damp cloth immediately, you don’t even have to sand it.


All ready for paint. I unified the three with a couple coats of matte black acrylic. I prefer to use spray paint for picture frames, but the weather today didn’t take my preferences into consideration. (Prayin’ for sunshine and warmer days ahead!)

(For photos of painted frames, scroll down.)

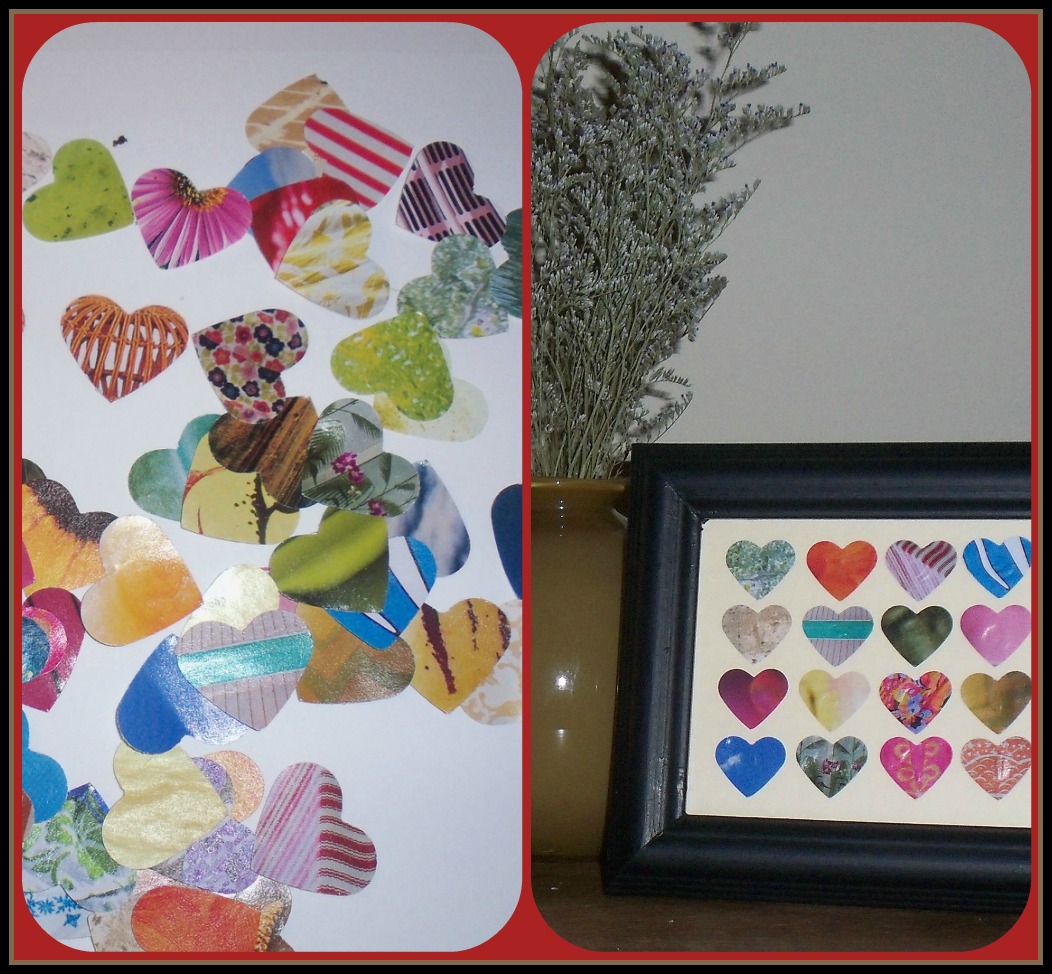
All you need for the rest of this project are a few magazines and a heart punch.


This particular punch is from Martha Stewart. It’s a 1 ½  inch heart, and it handles magazine-weight paper nicely. Michael’s has Martha’s products on sale regularly, but I used a 40% coupon for this one, beating the sale price from the week before! Gotta love a coupon.


Flip through the pages of your magazines at a leisurely pace while you enjoy your morning coffee, or your afternoon wine, or whatever it is that you’re enjoying while starting this project. You’re looking for interesting colors, so don’t get stuck reading the articles again. Just scan for color. Scan for color. Texture is good too. Color and texture. That’s your mission.


When you have a good many hearts from which to choose, punch a few more. Choices are a good thing.


Decide on a background color for your hearts. I used card stock, but any paper will work just as well.


Lay out your hearts in a pleasing pattern as you pour that next cuppa whatever it is you’re enjoying. For a 5x7, you’ll need 20 hearts for each frame.


When they are all in position, begin gluing them in place with good ol’ Aleene’s. You really want to stay away from the glue gun for this project. Tacky Glue will hold everything in place, but it will also allow you to move the hearts a hair or two if you find that your afternoon wine has interfered with the alignment.


While your hearts are drying, clean the glass for the frames. They’ve been lying around in the basement/attic/workroom/under the bed, for a long time. Face it: they’re dirty.


Assemble your art and say Ta Da! Stand back and admire your work, pat yourself on the back, and go do lunch with a girlfriend. You deserve it.

Pin It