

Pin It
Everyone loves personalized gifts. They show that you took the time to do something extra special, with only one person in mind. There is a someone who is extra special in my life, and she will soon have a new monogram. Wedding bells will ring this summer, and she will become my son's wife. Yay! So I thought I'd come up with a small gift bearing her new initials.
These little notepads are a cinch to put together, but you have to have a little time. Just because they're easy, doesn't necessarily mean quick.
Here's what you'll need:
Computer (Microsoft Word used to make monogram)
Paper (color of your choice)
Light-weight cardboard (cereal boxes work well for this)
Hole Punch (to punch very small holes)
Old spiral bound notebook (you just need the spiral)
Needlenose Pliers
Scissors
Glue (or Mod Podge)
Start by creating your design in Microsoft Word. Your document should be in Landscape orientation (under Page Layout). I used text boxes for each letter in the monogram. I'll do a full tutorial on making monograms in Word in the near future. When you are happy with your design, copy and paste it until you have 6 images. Arrange them on the page. I divided my page into 3 columns and centered the images within the columns. You may have to run a test page or 2 before you get them exactly where they need to be. You will have to adjust your margins so that they are almost non-existent. Your page should look similar to this:
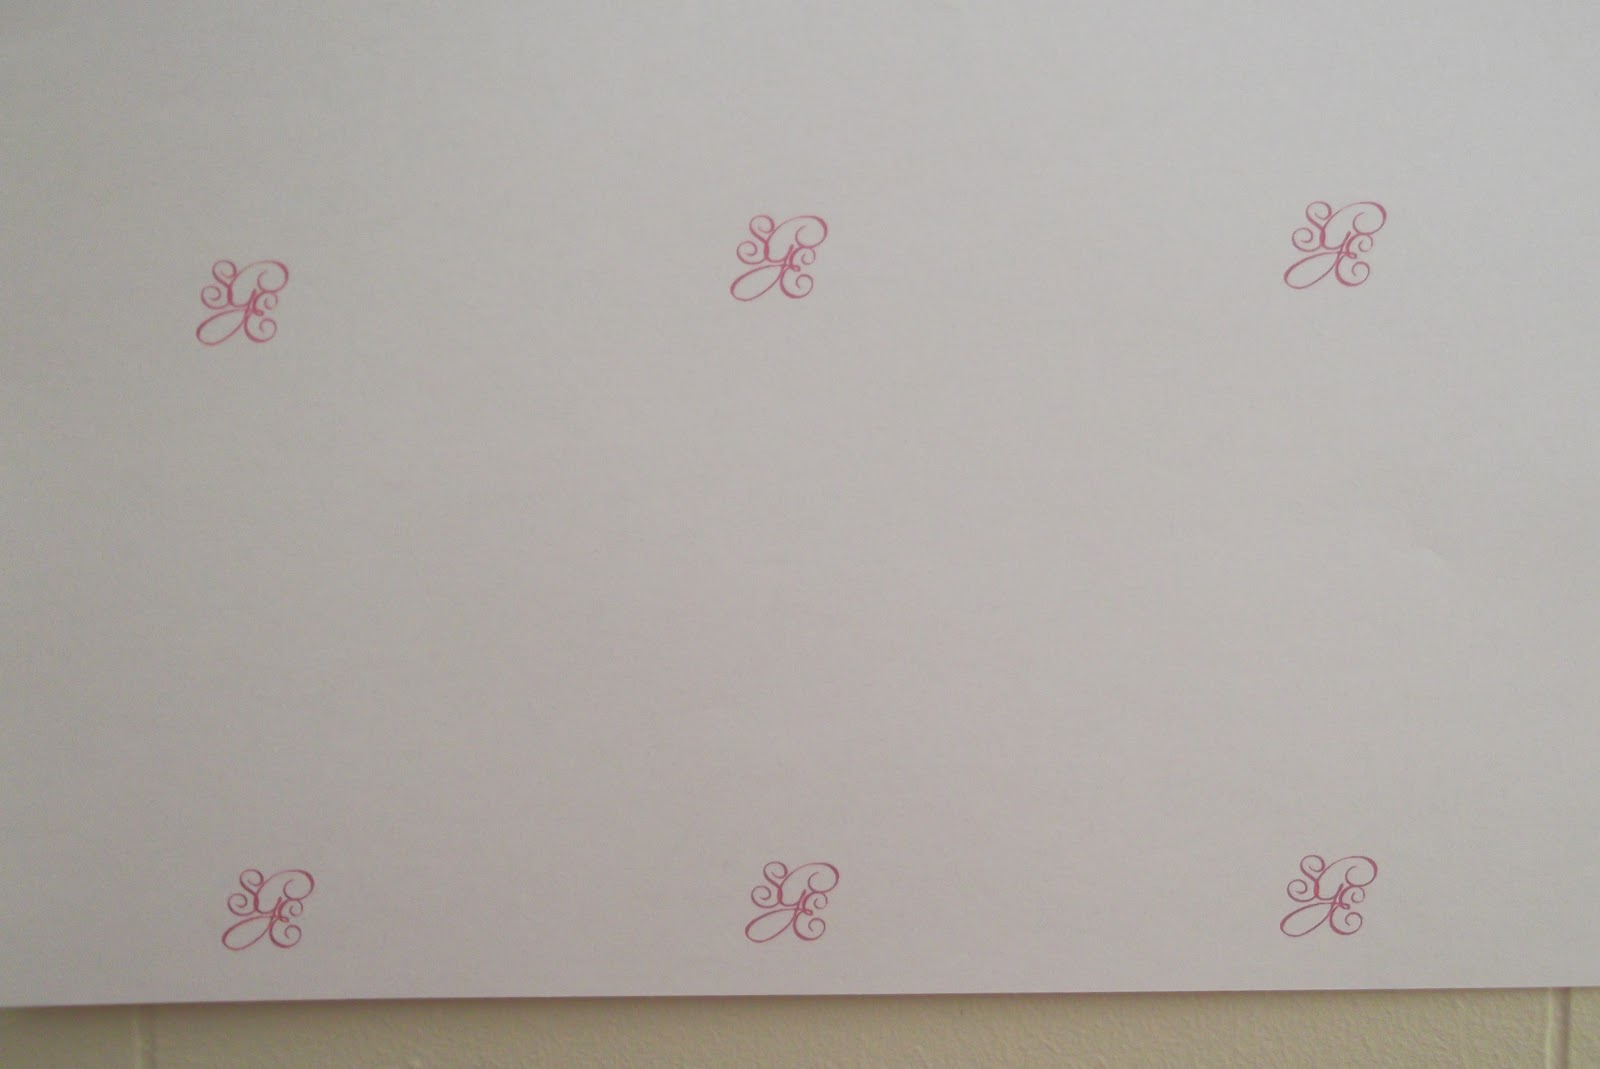
The bottom 3 images are right on the edge of the paper. That's because I dragged the margin bar all the way down.
Decide how many sheets of note paper you will have in your notepad (30 is a good number) and start printing. When you have all your sheets (shouldn't be more than 5 or 6) printed, use your paper trimmer to cut each sheet into 6 equal sections. Your monogram/image should be at the bottom center of each little sheet. I used yellow paper with a pink monogram.

Cut 2 pieces of lightweight cardboard slightly larger than your note sheets.

Glue cardstock to both sides of each piece of cardboard. One of these will be the front of your notepad; the other will be the back. You may choose to decorate the cardstock prior to assembling these two pieces. I put a larger monogram with a few butterflies on the front, and I simply signed the back to further personalize the project.


I also added a lacy paper border to the left side of the cover. You can use whatever you have on hand to embellish this little gem.

Now you need to bind all the elements together with a metal spiral. You can do this on the side or on the top. I chose the top. You'll have to remove the spiral from the old notebook you dug out of your stash of old stuff. To do this, simply start unwinding (rotating) the spiral from one end until it is completely free.

Now line up the top edge of your back cover (the cardboard piece you covered with cardstock) with the hole edge of the old notebook, and mark the holes lightly with a pencil.

Using a small punch, create holes over the pencil marks. (If you are using a standard sized hole punch, you will only punch every other pencil mark.)


Say Ta Da! Your notepad is complete! You may want to make one for a bunch of people in your world, because when they find out you made this one, they'll all want one!
Don't forget to send me pictures of the ones you create.....Thanks!


No comments:
Post a Comment