

These little gems can be used to embellish anything from gift boxes and tags to picture frames and lampshades.
You will need:
Paper of your choice (plain paper is easier to work with than cardstock)
Scissors
Glue gun
Bead for center (optional)
All cutting is done without a pattern so that there are no lines on your finished flower. Don’t be intimidated. It’s super easy. You may want to practice on a couple to get the hang of it, but you’ll be a pro in no time.
Begin by cutting a wavy circle from your paper. I used ¼ of a standard sheet of paper for these little rosettes.

Then cut a wavy spiral into the circle, keeping the width of the spiral as constant as possible.

Now you are ready to form your flower. Starting at the outer point (the point where you began your spiral cutting), begin rolling the spiral strip into a snug coil.

Continue rolling around the spiral until you reach the center. You will have something that looks like this:

Now set the bottom of your rosette on your work surface and allow the flower to unfurl a bit, until you get the desired look.
Remember: roses in nature are not perfectly symmetrical, so it’s okay if yours isn’t.
At this point your rosette should be resting on the last bit of paper in the center of the original spiral. This is where you want to add some hot glue. Using a pea-sized glop of hot glue, press your flower from the top, forcing all the layers down into the glue. Hold it in place for a few seconds until the glue cools a bit, making sure that everything is attached at the base.
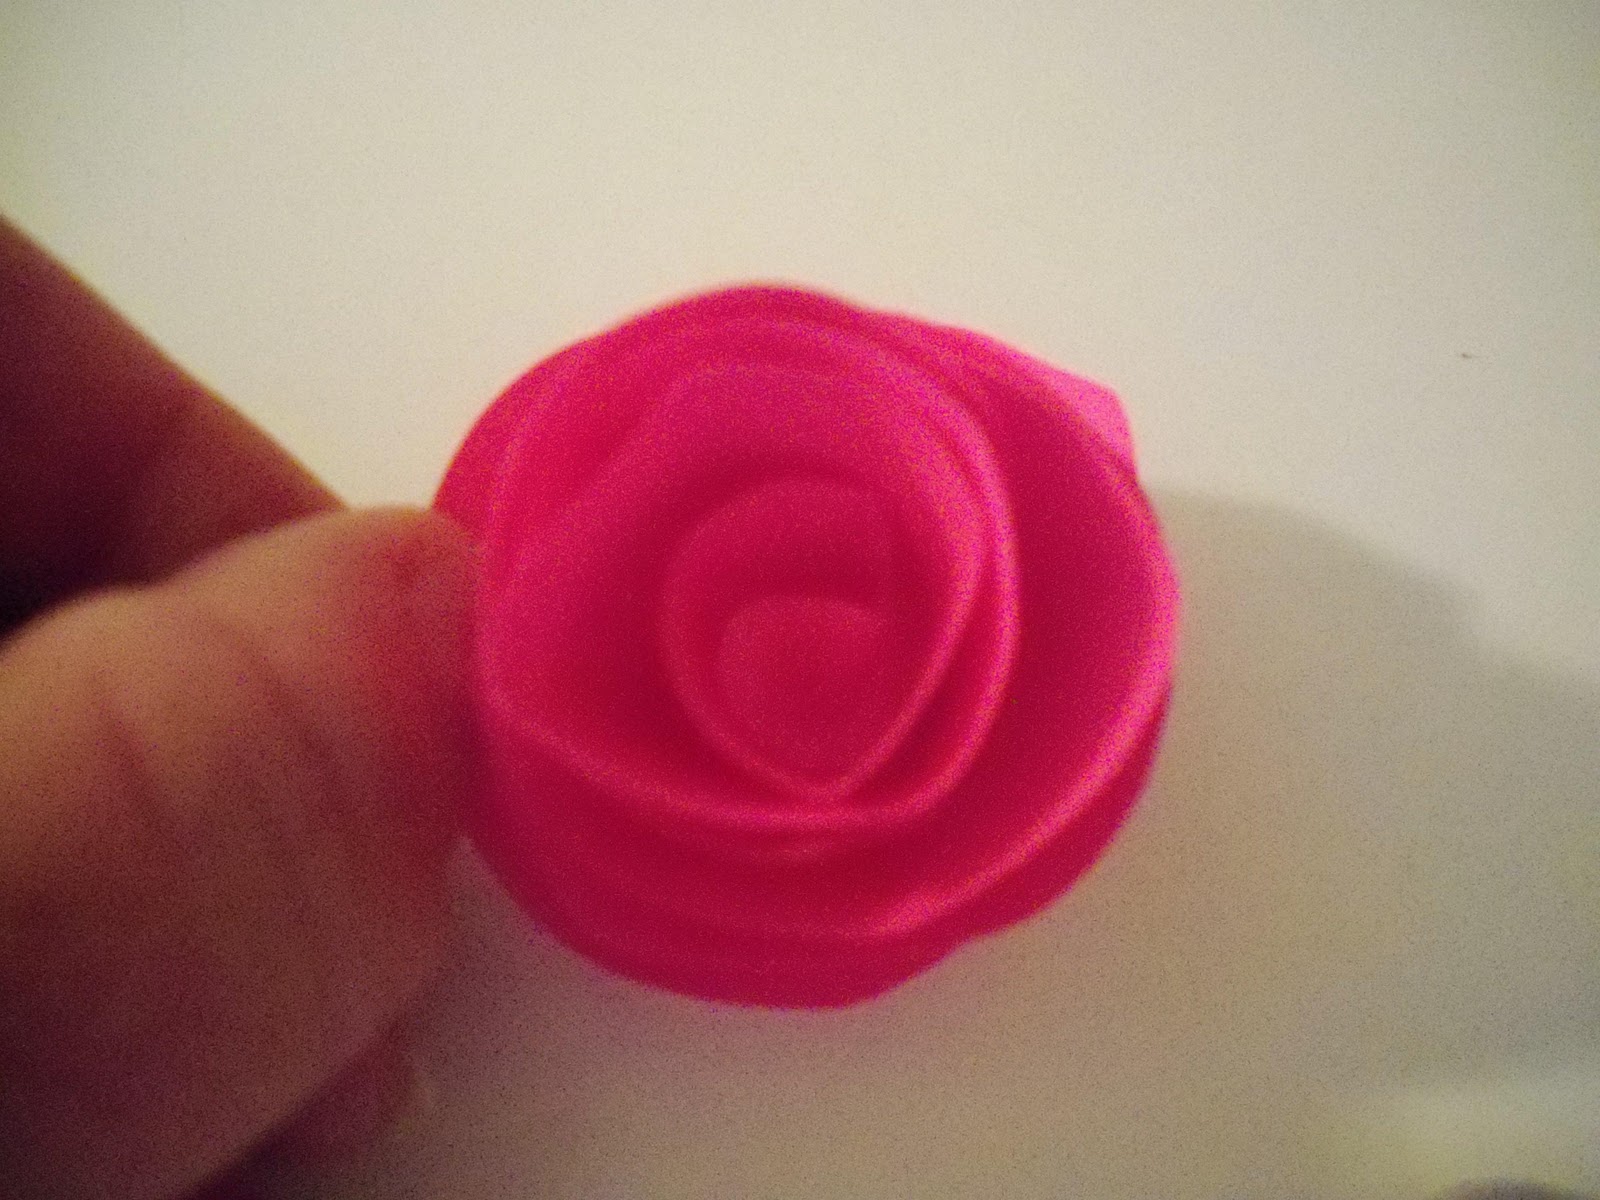
Now you have a creation similar to this:

If the center of your rose is exposed, as mine is, you can simply add a bead to hide the glue mess. If your coil remained nice and tight in the center and you can't see that mess, congratulations, no bead necessary.
Your rose is now complete.
Say Ta Da! And go embellish something. Send me pictures please!


No comments:
Post a Comment